Scaling performance
This is a short primer on how to scale performance.
Running WebGL can be quite expensive depending on how powerful your devices are. In order to mitigate this, especially if you want to make your application available to a broad variety of devices, including weaker options, you should look into performance optimizations. This article goes through a couple of them.
On-demand rendering
three.js apps usually run in a game-loop that executes 60 times a second, React Three Fiber is no different. This is perfectly fine when your scene has constantly moving parts in it. This is what generally drains batteries the most and makes fans spin up.
But if the moving parts in your scene are allowed to come to rest, then it would be wasteful to keep rendering. In such cases you can opt into on-demand rendering, which will only render when necessary. This saves battery and keeps noisy fans in check.
Open the sandbox below in a full screen and look into dev tools, you will see that it is completely idle when nothing is going on. It renders only when you move the model.


Color grading
All you need to do is set the canvas frameloop prop to demand. It will render frames whenever it detects prop changes throughout the component tree.
<Canvas frameloop="demand">
Triggering manual frames
One major caveat is that if anything in the tree mutates props, then React cannot be aware of it and the display would be stale. For instance, camera controls just grab into the camera and mutate its values. Here you can use React Three Fiber's invalidate function to trigger frames manually.
function Controls() {
  const orbitControlsRef = useRef()
  const { invalidate, camera, gl } = useThree()
  useEffect(() => {
    orbitControlsRef.current.addEventListener('change', invalidate)
    return () => orbitControlsRef.current.removeEventListener('change', invalidate)
  }, [])
  return <orbitControls ref={orbitControlsRef} args={[camera, gl.domElement]} />
Generally you can call invalidate whenever you need to render:
invalidate()
Calling invalidate() will not render immediately, it merely requests a
new frame to be rendered out. Calling invalidate multiple times will not render multiple times.
Think of it as a flag to tell the system that something has changed.
Sync animations with on-demand-rendering and invalidate
Since invalidate() is only a flag that schedules render, you might bump into syncing issues when you run animations that are synchronous (as in, they start immediately). By the time fiber renders the first frame the animation has already progressed which leads to a visible jump. In such cases you should pre-emptively schedule a render and then start the animation in the next frame.
<mesh
  onClick={() => {
    // Pre-emptively schedule a render
    invalidate()
    // Wait for the next frame to start the animation
    requestAnimationFrame(() => controls.dolly(1, true))
  }}
Re-using geometries and materials
Each geometry and material means additional overhead for the GPU. You should try to re-use resources if you know they will repeat.
You could do this globally:
const red = new THREE.MeshLambertMaterial({ color: "red" })
const sphere = new THREE.SphereGeometry(1, 28, 28)

function Scene() {
  return (
    <>
      <mesh geometry={sphere} material={red} />
      <mesh position={[1, 2, 3]} geometry={sphere} material={red} />
If you create a material or color in global space - outside of React Three Fiber's Canvas context - you should enable ColorManagement in three.js. This will allow certain conversions (for hexadecimal and CSS colors in sRGB) to be made automatically, producing correct colors in all cases.
import * as THREE from 'three'

// r150
THREE.ColorManagement.enabled = true

// r139-r149
THREE.ColorManagement.legacyMode = false
Caching with useLoader
If you access a resource via useLoader with the same URL, throughout the component tree, then you will always refer to the same asset and thereby re-use it. This is especially useful if you run your GLTF assets through GLTFJSX because it links up geometries and materials and thereby creates re-usable models.

Re-using GLTFs
function Shoe(props) {
  const { nodes, materials } = useLoader(GLTFLoader, "/shoe.glb")
  return (
    <group {...props} dispose={null}>
      <mesh geometry={nodes.shoe.geometry} material={materials.canvas} />
    </group>
  )
}

<Shoe position={[1, 2, 3]} />
<Shoe position={[4, 5, 6]} />
Instancing
Each mesh is a draw call, you should be mindful of how many of these you employ: no more than 1000 as the very maximum, and optimally a few hundred or less. You can win performance back by reducing draw calls, for example by instancing repeating objects. This way you can have hundreds of thousands of objects in a single draw call.

Instances
Setting up instancing is not so hard, consult the three.js docs if you need help.
function Instances({ count = 100000, temp = new THREE.Object3D() }) {
  const instancedMeshRef = useRef()
  useEffect(() => {
    // Set positions
    for (let i = 0; i < count; i++) {
      temp.position.set(Math.random(), Math.random(), Math.random())
      temp.updateMatrix()
      instancedMeshRef.current.setMatrixAt(i, temp.matrix)
    }
    // Update the instance
    instancedMeshRef.current.instanceMatrix.needsUpdate = true
  }, [])
  return (
    <instancedMesh ref={instancedMeshRef} args={[null, null, count]}>
      <boxGeometry />
      <meshPhongMaterial />
    </instancedMesh>
  )
}
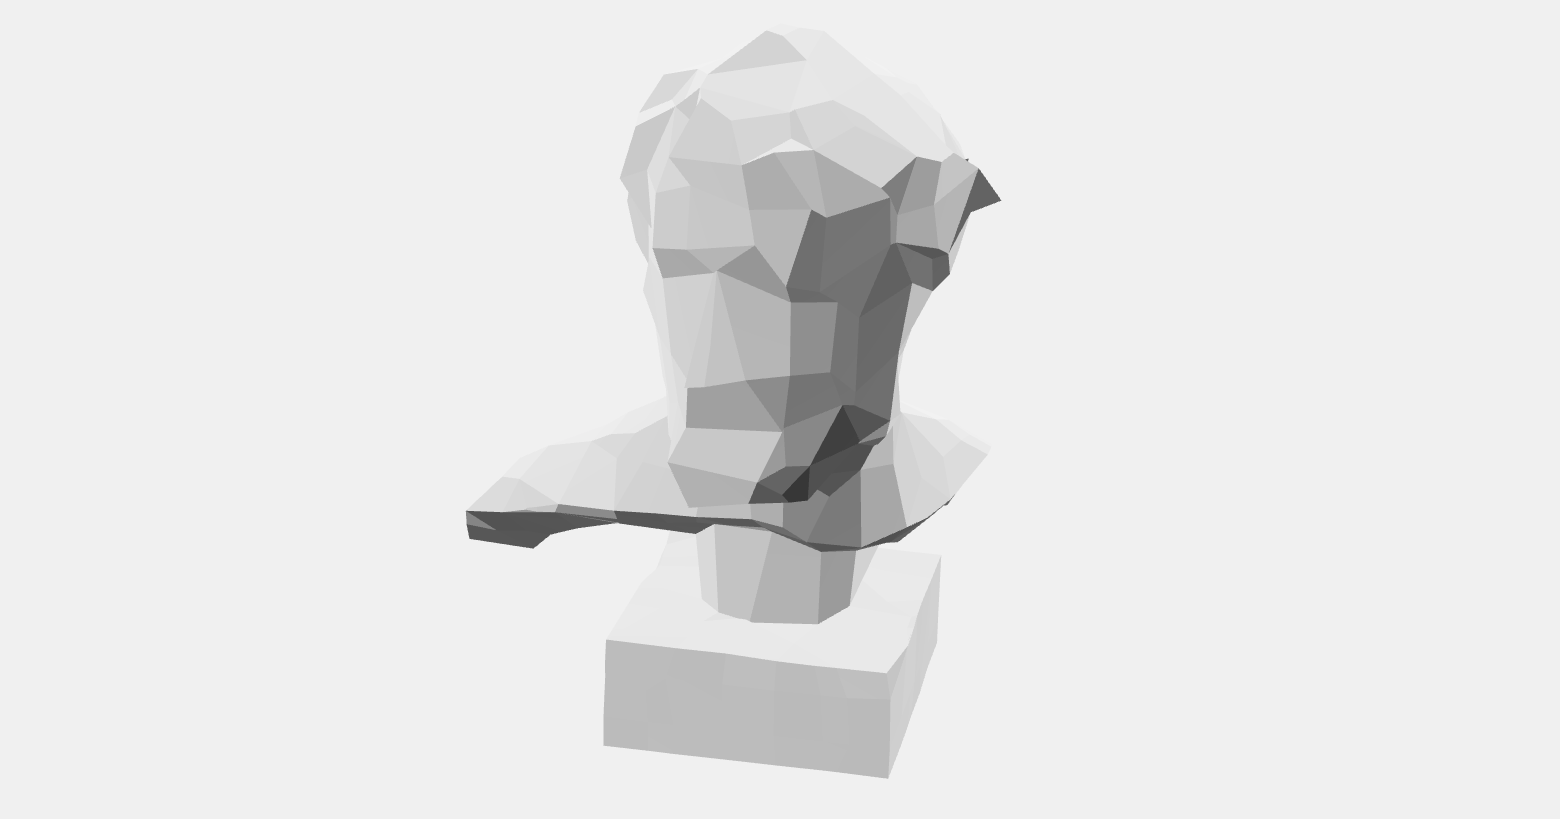
Level of detail
Sometimes it can be beneficial to reduce the quality of an object the further it is away from the camera. Why would you display it full resolution if it is barely visible. This can be a good strategy to reduce the overall vertex-count which means less work for the GPU.
Scroll in and out to see the effect:
Re-using geometry and level of detail
There is a small component in Drei called <Detailed /> which sets up LOD without boilerplate. You load or prepare a couple of resolution stages, as many as you like, and then give them the same amount of distances from the camera, starting from highest quality to lowest.
import { Detailed, useGLTF } from '@react-three/drei'

function Model() {
  const [low, mid, high] = useGLTF(["/low.glb", "/mid.glb", "/high.glb"])
  return (
    <Detailed distances={[0, 10, 20]}>
      <mesh geometry={high} />
      <mesh geometry={mid} />
      <mesh geometry={low} />
    <Detailed/>
  )
}
Nested loading
Nested loading means that lesser textures and models are loaded first, higher-resolution later.
The following sandbox goes through three loading stages:
- A loading indicator
- Low quality
- High quality
Progressive loading states with suspense
And this is how easy it is to achieve it, you can nest suspense and even use it as a fallback:
function App() {
  return (
    <Suspense fallback={<span>loading...</span>}>
      <Canvas>
        <Suspense fallback={<Model url="/low-quality.glb" />}>
          <Model url="/high-quality.glb" />
        </Suspense>
      </Canvas>
    </Suspense>
  )
}

function Model({ url }) {
  const { scene } = useGLTF(url)
  return <primitive object={scene} />
}
Performance monitoring
Drei has a new component PerformanceMonitor that allows you to monitor, and adapt to, device performance. This component will collect the average fps (frames per second) over time. If after a couple of iterations the averages are below or above a threshold it will trigger onIncline and onDecline callbacks that allow you to respond. Typically you would reduce the quality of your scene, the resolution, effects, the amount of stuff to render, or, increase it if you have enough framerate to fill.
Since this would normally cause ping-ponging between the two callbacks you define upper and lower framerate bounds, as long as you stay within that margin nothing will trigger. Ideally your app should find its way into that margin by gradually altering quality.
A simple example for regulating the resolution. It starts out with 1.5, if the system falls below the bounds it goes to 1, if it's fast enough it goes to 2.
function App() {
  const [dpr, setDpr] = useState(1.5)
  return (
    <Canvas dpr={dpr}>
      <PerformanceMonitor onIncline={() => setDpr(2)} onDecline={() => setDpr(1)} >
You can also use the onChange callback to get notified when the average changes in whichever direction. This allows you to make gradual changes. It gives you a factor between 0 and 1, which is increased by incline and decreased by decline. The factor is initially 0.5 by default.
import round from 'lodash/round'

const [dpr, set] = useState(1)
return (
 <Canvas dpr={dpr}>
  <PerformanceMonitor onChange={({ factor }) => setDpr(round(0.5 + 1.5 * factor, 1))}>
If you still experience flip flops despite the bounds you can define a limit of flipflops. If it is met onFallback will be triggered which typically sets a lowest possible baseline for the app. After the fallback has been called PerformanceMonitor will shut down.
<PerformanceMonitor flipflops={3} onFallback={() => setDpr(1)}>
PerformanceMonitor can also have children, if you wrap your app in it you get to use usePerformanceMonitor which allows individual components down the nested tree to respond to performance changes on their own.
;<PerformanceMonitor>
  <Effects />
</PerformanceMonitor>

function Effects() {
  usePerformanceMonitor({ onIncline, onDecline, onFallback, onChange })
  // ...
}
Movement regression
Websites like Sketchfab make sure the scene is always fluid, running at 60 fps, and responsive, no matter which device is being used or how expensive a loaded model is. They do this by regressing movement, where effects, textures, shadows will slightly reduce quality until still-stand
The following sandbox uses expensive lights and post-processing. In order for it to run relatively smooth it will scale the pixel ratio on movement and also skip heavy post-processing effects like ambient occlusion.

Performance scaling
When you inspect the state model you will notice an object called performance.
performance: {
  current: 1,
  min: 0.1,
  max: 1,
  debounce: 200,
  regress: () => void,
},
- current: Performance factor alternates between min and max
- min: Performance lower bound (should be less than 1)
- max: Performance upper bound (no higher than 1)
- debounce: Debounce timeout until it goes to upper bound (1) again
- regress(): Function that temporarily regresses performance
You can define defaults like so:
<Canvas performance={{ min: 0.5 }}>...</Canvas>
This is how you can put the system into regression
The only thing you have to do is call regress(). When exactly you do that, that is up to you, but it could be when the mouse moves, or the scene is moving, for instance when controls fire their change-event.
Say you are using controls, then the following code puts the system in regress when they are active:
const regress = useThree((state) => state.performance.regress)
useEffect(() => {
  controls.current?.addEventListener('change', regress)
This is how you can respond to it
regress() will not change or affect anything!Your app has to opt into performance scaling by listening to the performance current! The number itself will tell you what to do. 1 (max) means everything is ok, the default. Less than 1 (min) means a regression is requested and the number itself tells you how far you should go when scaling down.
For instance, you could simply multiply current with the pixelratio to cut down on resolution. If you have defined min: 0.5 that would mean it will half the resolution for at least 200ms (delay) when regress is called. It can be used for anything else, too: switching off lights when current < 1, using lower-res textures, skip post-processing effects, etc. You could of course also animate/lerp these changes.
Here is a small prototype component that scales the pixel ratio:
function AdaptivePixelRatio() {
  const current = useThree((state) => state.performance.current)
  const setPixelRatio = useThree((state) => state.setDpr)
  useEffect(() => {
    setPixelRatio(window.devicePixelRatio * current)
  }, [current])
  return null
}
Drop this component into the scene, combine it with the code above that calls regress(), and you have adaptive resolution:
<AdaptivePixelRatio />
There are pre-made components for this already in the Drei library.
Enable concurrency
React 18 introduces concurrent scheduling, specifically time slicing via startTransition and useTransition. This will virtualize the component graph, which then allows you to prioritise components and actions. Think of how a virtual list avoids scaling issues because it only renders as many items as the screen can take, it is not affected by the amount of items it has to render, be it 10 or 100.000.000.
React 18 functions very similar to this, it can potentially defer load and heavy tasks in ways that would be hard or impossible to achieve in a vanilla application. It thereby holds on to a stable framerate even in the most demanding situations.
The following benchmark shows how powerful concurrency can be: https://github.com/drcmda/scheduler-test
It simulates heavy load by creating hundreds of THREE.TextGeometry instances (510 to be exact). This class, like many others in three.js, is expensive and takes a while to construct. If all 510 instances are created the same time it will cause approximately 1.5 seconds of pure jank (Apple M1), the tab would normally freeze. It runs in an interval and will execute every 2 seconds.
| Distributed | At-once | |
|---|---|---|
| three.js | ~20fps | ~5fps |
| React | ~60fps | ~60fps |


For more on how to use this API, see use startTransition for expensive ops.